Qwen ImageEdit 2509: ControlNet Pose & Multi-Object Transfer
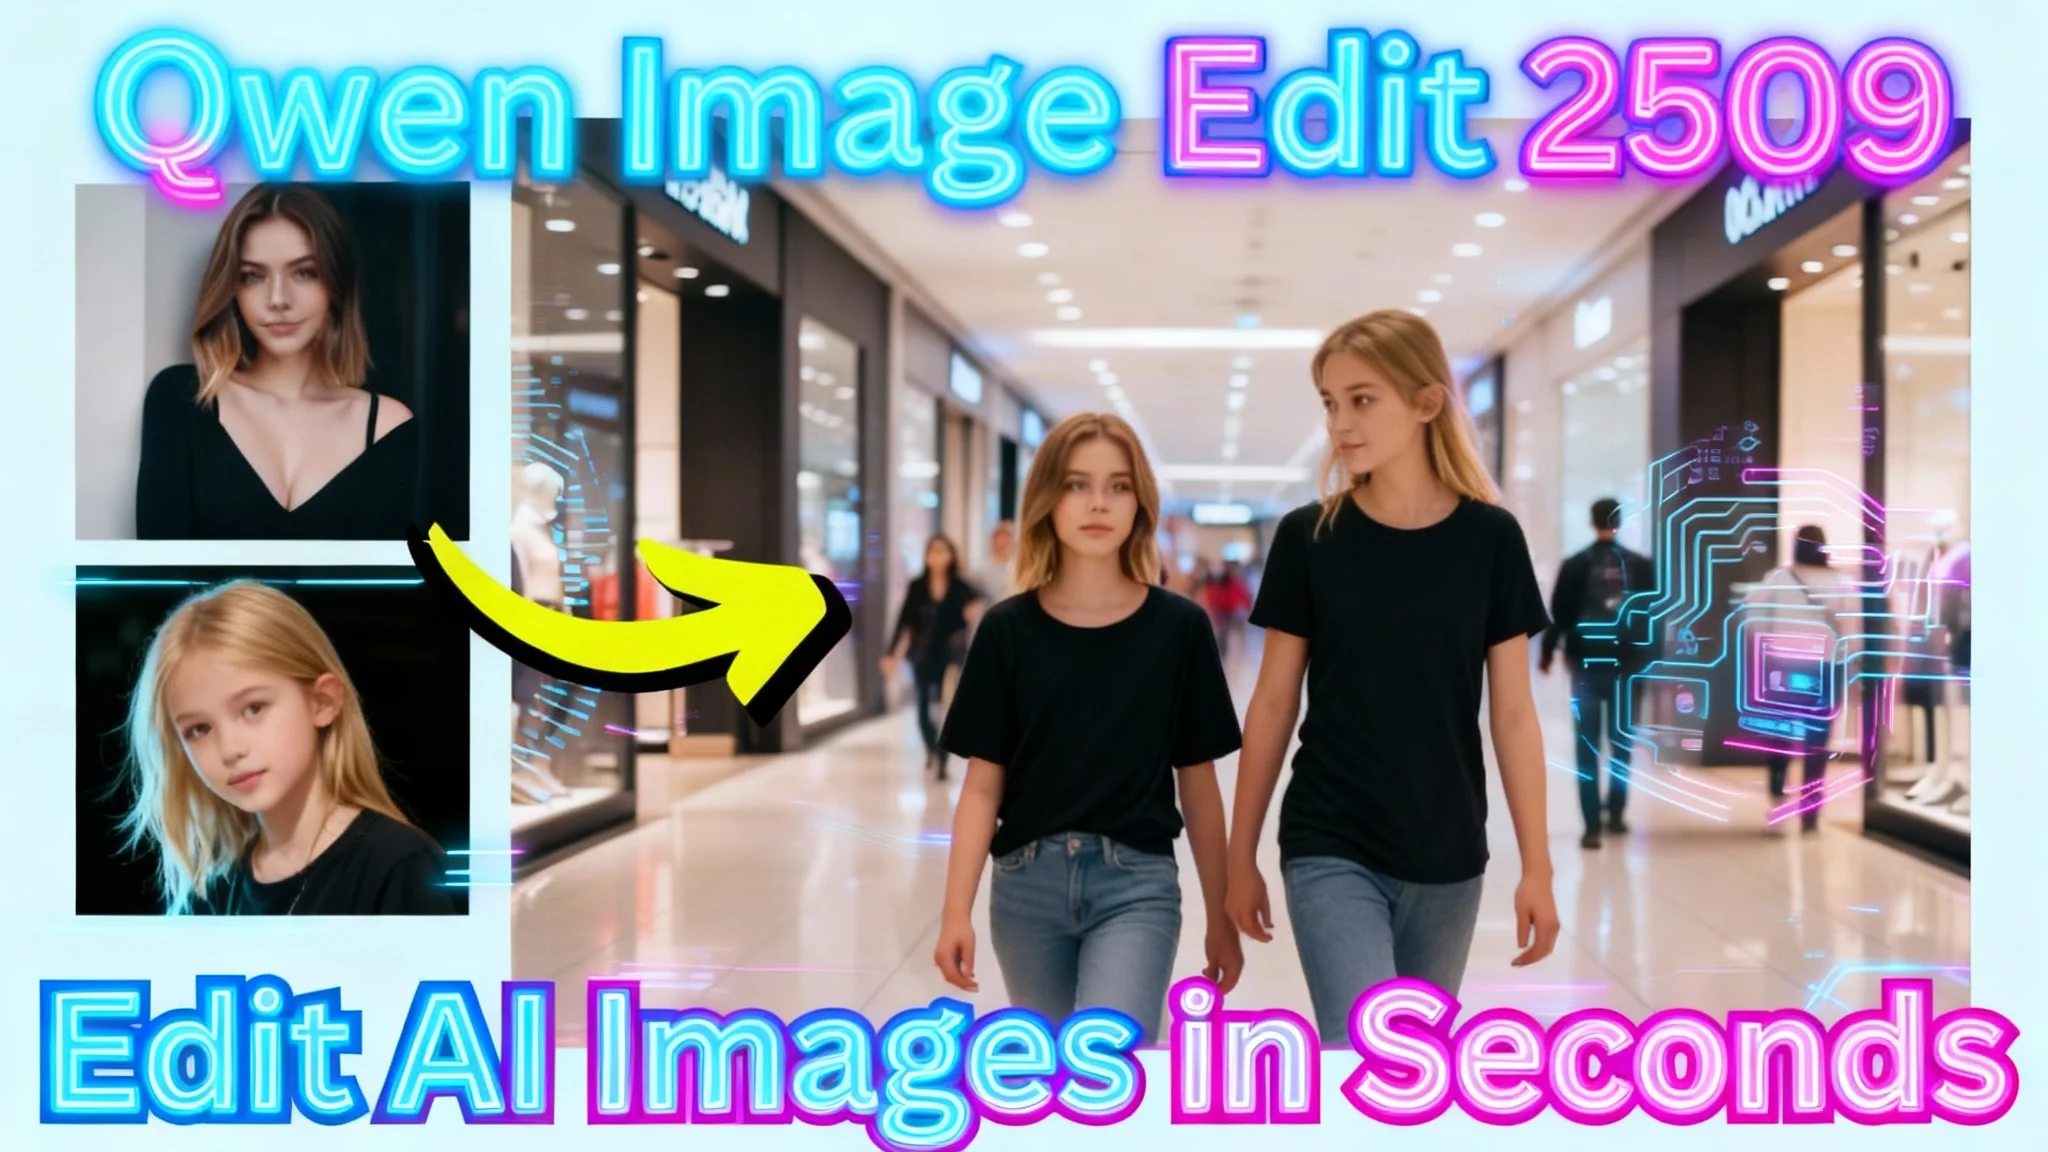
Qwen ImageEdit has a new release that brings meaningful improvements to multi-image editing and object transfer. I walked through the update in practical scenarios, focusing on real workflows rather than abstract features.
The model is built for macro edits and now performs more consistently across complex tasks. It supports ControlNet-style pose guidance, multi-image inputs, and precise object transfers with up to three subjects or items in one generated image.
What is Qwen ImageEdit 2509?
Qwen ImageEdit 2509 is an image editing model designed to blend multiple inputs—people, products, and scenes—into a single coherent output. It’s tuned for tasks like virtual try-on, pose control, multi-object transfers, and person-plus-scene composition without complex masking or manual compositing.
This version is more stable than earlier releases and offers better style consistency and referential coherence. It can follow reference poses, keep a character’s identity, and place them into new environments while honoring scene details from your prompts.
Table Overview: Qwen ImageEdit 2509
| Aspect | Details |
|---|---|
| Core purpose | Macro image editing with multi-image inputs and pose control |
| Version | Qwen ImageEdit 2509 (template label may show “Qwen ImageEdit 259” in ComfyUI) |
| Object transfer | Up to three objects from input images; supports person+person, person+product, person+scene |
| Pose guidance | DW Pose supported via the third image input |
| Consistency | Improved style referencing and subject coherence |
| Integration | ComfyUI with a ready-made template workflow |
| Model formats | BF16 and FP8; GGUF quantized variants (Q2–Q8) for lower VRAM |
| File placement | Place model files in ComfyUI/models/diffusion_models |
| Typical inputs | Three image inputs: base character, object/scene, and optional pose reference |
Key Features of Qwen ImageEdit 2509
- Multi-image editing with consistent subject identity and style.
- Up to three objects transferred from references into a single output.
- DW Pose support for driven pose control via an image input.
- Reliable person+product and person+scene composition.
- Works with large models (BF16/FP8) and smaller GGUF quantized variants for tight VRAM.
How Qwen ImageEdit 2509 Works
Model Files and Formats
You can download Qwen ImageEdit 2509 models from the Hugging Face repository associated with ComfyUI. Inside the repo, look for the diffusion_models subfolder. Place the downloaded files into your ComfyUI/models/diffusion_models directory.
The latest build is available in BF16 and FP8. If you have limited VRAM, use GGUF quantized options from Q2 up to Q8. These smaller files reduce memory requirements at the cost of some fidelity.
Template Workflow in ComfyUI
Update ComfyUI to the latest version. Then:
- Go to Browse Templates in the top menu.
- Open the Image tab.
- Choose “Qwen ImageEdit 259” (template name may vary slightly).
- When prompted, download the required models and files, or manually select your saved models if they’re in custom folders.
This template exposes three image inputs and text prompt nodes. It’s a simple base you can expand as needed.
Three-Image Input Design
The workflow uses three inputs:
- Image 1: Base character or primary subject.
- Image 2: Object, product, or scene reference.
- Image 3: Optional DW Pose image for pose control.
You can reference these inputs in your prompt as “image one,” “image two,” and so on for targeted edits.
How to Use Qwen ImageEdit 2509
Step-by-Step: Setup in ComfyUI
- Update ComfyUI to the latest build.
- Download Qwen ImageEdit 2509 models from the ComfyUI Hugging Face repo.
- Place model files in ComfyUI/models/diffusion_models.
- Open Browse Templates → Image → Qwen ImageEdit 259.
- Download required assets if prompted or point to your local models manually.
- Load your inputs into the three image slots.
- Write a concise prompt that references image inputs and describes the scene.
- Generate and review the output; iterate with small prompt adjustments if needed.
Virtual Try-On: Single Product on a Character
- Inputs:
- Image 1: Base character.
- Image 2: Product (e.g., a necklace).
- Prompt:
- Describe the product placement and scene: “Put the small-size necklace on the woman. She’s sitting at a dining table. Camera zoomed out.”
- Result:
- The character appears wearing the product in a natural setting, maintaining the style of the original character image.
This approach is useful for lifestyle imagery rather than studio-only outputs.
Adding Pose Control with DW Pose
- Inputs:
- Image 1: Base character.
- Image 2: Product.
- Image 3: DW Pose reference (the target pose image).
- Node connections:
- Connect the DW Pose image to both the positive and negative text encoder nodes as shown in the template.
- Prompt:
- Keep the same text as the prior try-on if you want; the DW Pose input enforces the new posture.
- Result:
- The model follows the provided pose while preserving identity and product placement.
Multiple Try-Ons: Two-Image Workflow
- Inputs:
- Image 1: Base character.
- Image 2: Garments (e.g., dress and tank top shown together in one reference).
- Prompt:
- Reference inputs by name: “Put image two (the garments) on image one. The woman is at a Christmas party holding a glass of wine.” Add brief scene details as needed.
- Result:
- The garments from image two appear on the character, placed in the specified environment.
Older approaches required masking, separate pose references, and several steps. Here it’s consolidated into one workflow.
Layered Apparel
- Scenario:
- Two or more apparel layers (e.g., dress plus sweater) in the garment image.
- Workflow:
- Same as multiple try-ons above. The model replicates layered garments as a combined outfit.
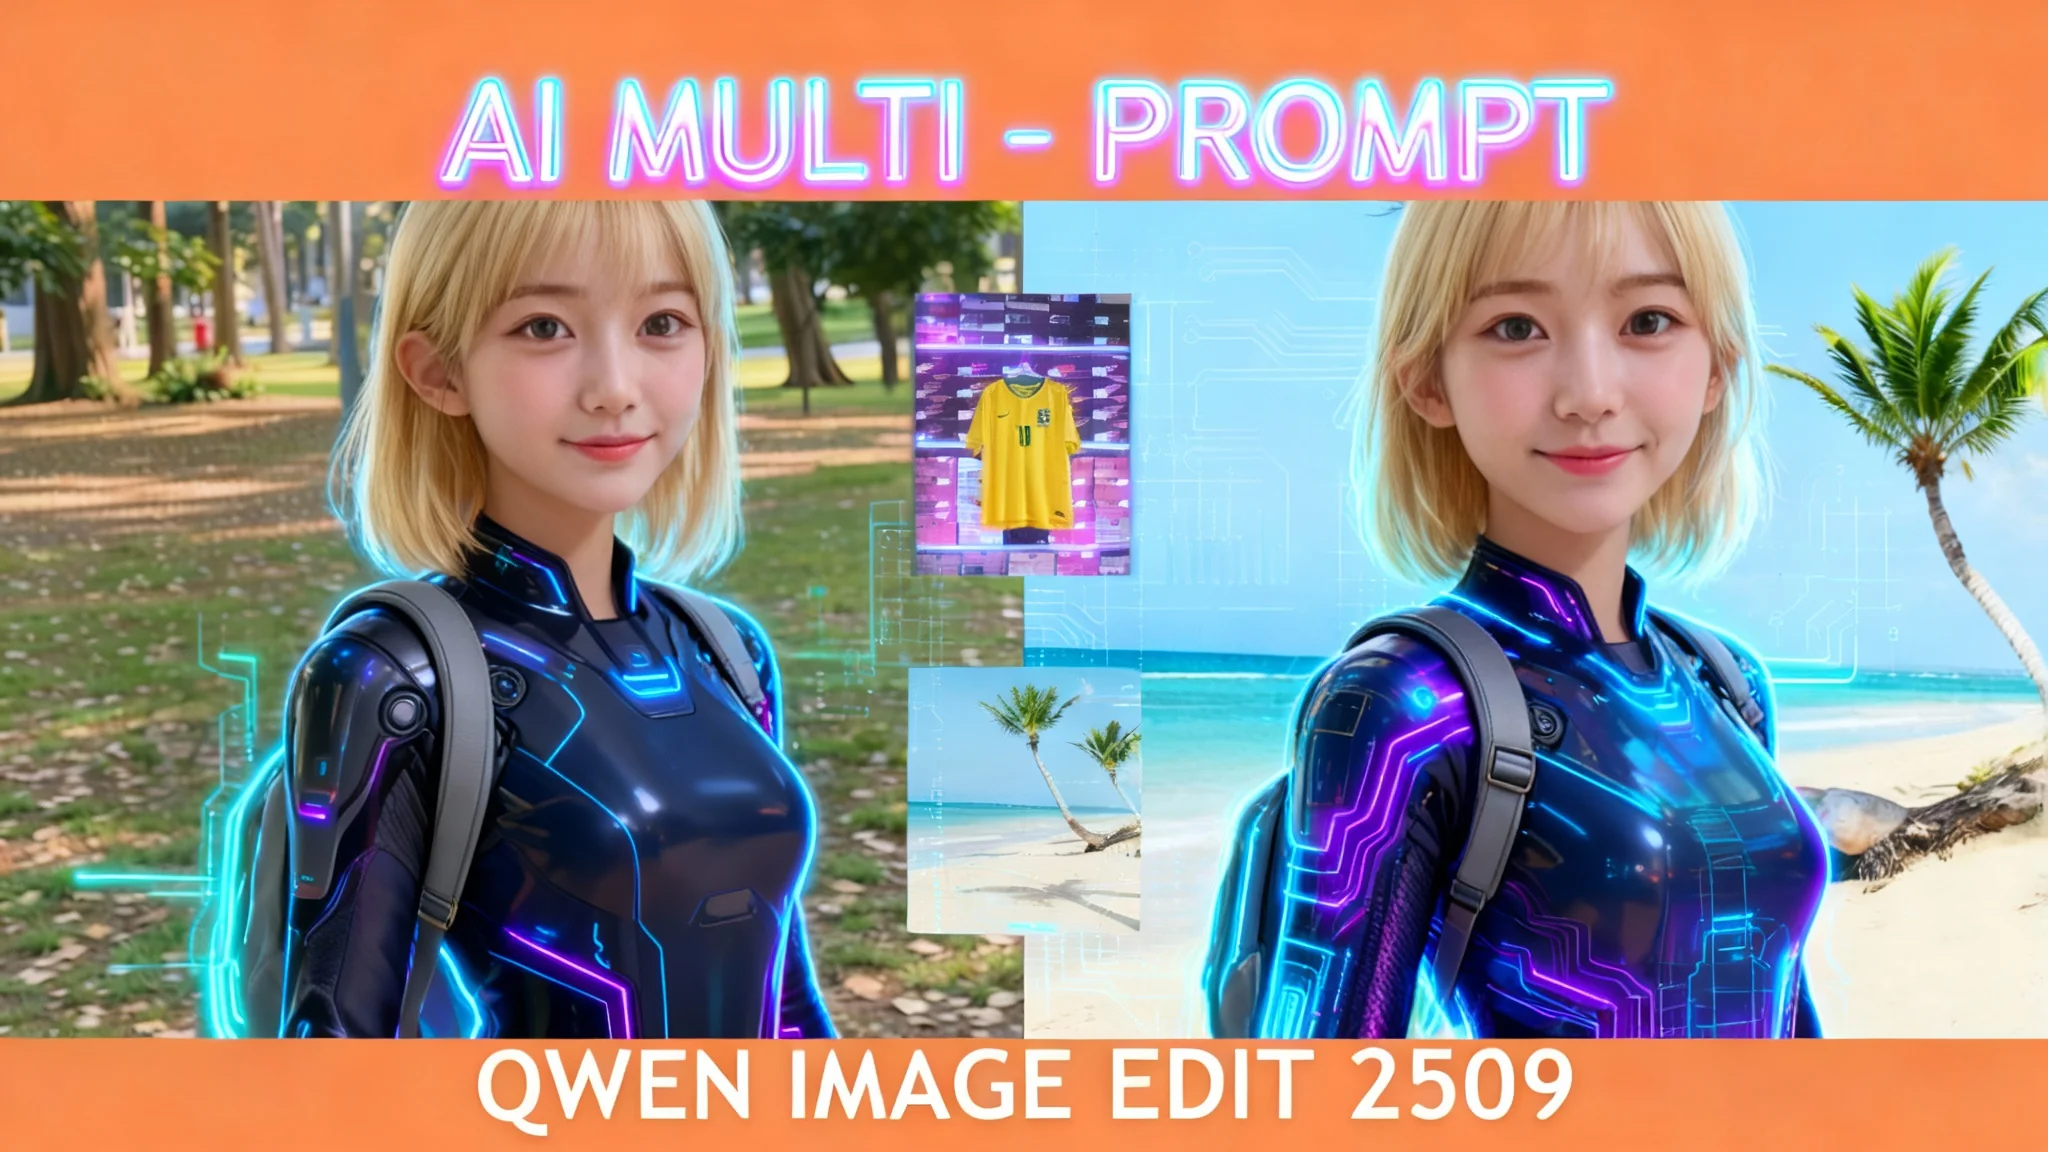
Person + Scene Composition
- Inputs:
- Image 1: Character.
- Image 2: Scene (e.g., a sports car background).
- Prompt:
- Describe the placement relative to the scene.
- Result:
- The character appears beside the referenced sports car, matching the intended setup.
You can also treat the car as an object and place it with the character in a new environment. If the car appears too small or large, regenerate or add prompt details clarifying position and scale. Simple cues like “standing close to the car” or “car in the foreground” help align proportions.
Person + Product in Lifestyle Settings
- Inputs:
- Image 1: Character.
- Image 2: Product (e.g., a perfume bottle).
- Prompt:
- “The woman wearing the same outfit is holding a small bottle of perfume and spraying it on herself in a bedroom makeup area.”
- Result:
- The character interacts with the product in a natural context, preserving outfit consistency.
Quick Edit Loop: Reusing Generated Outputs
After generating an image you like, you can feed it back into the workflow without reloading files:
- Copy the generated image to the clipboard.
- Right-click the first image node and paste.
- Now the generated image is your base for another pass.
For example, change wardrobe color with a short prompt update: “Change the t-shirt to light pink.” This targets local adjustments while keeping the rest intact.
Person + Scene: Action Framing
- Inputs:
- Image 1: A character reference (e.g., a known action character).
- Image 2: A nightclub scene.
- Prompt:
- “Image one, the man is holding a pistol and walking into image two’s dance floor, moving through a crowd of people.”
- Result:
- The model blends the character into the scene with the described action.
Start and End Frames for Short Video
You can turn stills from Qwen ImageEdit into a short video using a start/end frame workflow:
- Start frame:
- Copy the generated character-in-scene image into the first image node.
- Bypass image two if you no longer need the separate scene reference.
- End frame:
- Prompt a small motion change: “The man is holding up the pistol pointing at another guy. Camera at a 45-degree angle.”
- Export:
- Use the 2.2 start-and-end frame video workflow to create a brief clip.
- Frame interpolation smooths transitions between the two images.
- Control:
- You maintain control over pose and environment in the image stage, then refine motion aesthetics in the video model.
This workflow ties together image composition with motion, giving you precise start and end visuals before generating the clip.
FAQs
Do I need the latest ComfyUI update?
Yes. Update ComfyUI before using the Qwen ImageEdit 2509 template. The template lives under Browse Templates → Image and is labeled “Qwen ImageEdit 259” in the latest build.
Where do I put the model files?
Place model files in ComfyUI/models/diffusion_models. The ComfyUI Hugging Face repo includes a diffusion_models subfolder with the assets you need.
Which formats are available?
BF16 and FP8 are available for highest quality. For reduced VRAM usage, use GGUF quantized models from Q2 through Q8.
How many image inputs can I use?
The workflow provides three inputs:
- Image 1: Base character.
- Image 2: Object or scene.
- Image 3: Optional pose reference (DW Pose).
Does it support pose control?
Yes. Add a DW Pose reference in the third slot and connect it to the positive and negative text encoder nodes as shown in the template.
How many objects can it transfer?
Up to three objects can be transferred from your input images into a new output. It supports combinations like person+person, person+product, and person+scene.
How do I reference the inputs in prompts?
Refer to the inputs as “image one,” “image two,” and “image three” in your prompt. Keep instructions short and specific to placement, clothing, and scene details.
How do I address incorrect scale for inserted objects?
If an item appears too small or too large, regenerate or add prompt details that anchor position and relative size. Phrasing like “standing beside the car” or “car in the foreground” helps.
Can I re-edit a generated image?
Yes. Copy the generated image, paste it into the first image node, and run another pass. This is useful for quick color changes or small adjustments without reloading reference images.
Can I create short videos from two images?
Yes. Produce a start frame and an end frame in Qwen ImageEdit, then use the 2.2 start-and-end frame video workflow. Interpolation will smooth the in-between motion.
What if I have limited VRAM?
Try GGUF quantized models (Q2–Q8). These reduce VRAM needs and file size. If outputs look softer than desired, test a higher-precision quantization or move to FP8/BF16 when resources allow.
Conclusion
Qwen ImageEdit 2509 brings practical gains to multi-image editing, pose control, and object transfer. The ComfyUI template makes setup straightforward, and the three-input design covers common production needs: base character, product or scene, and pose. Virtual try-ons, person-plus-scene compositions, and targeted wardrobe or color changes all work in a single workflow without complex masking.
Recent Posts
Qwen Image Edit in ComfyUI: Multi-Image Prompting
Set up Qwen Image Edit 2509 in ComfyUI: multi-image prompting (up to 3 refs), better prompt adherence, improved visuals, and example workflows on 8GB VRAM.
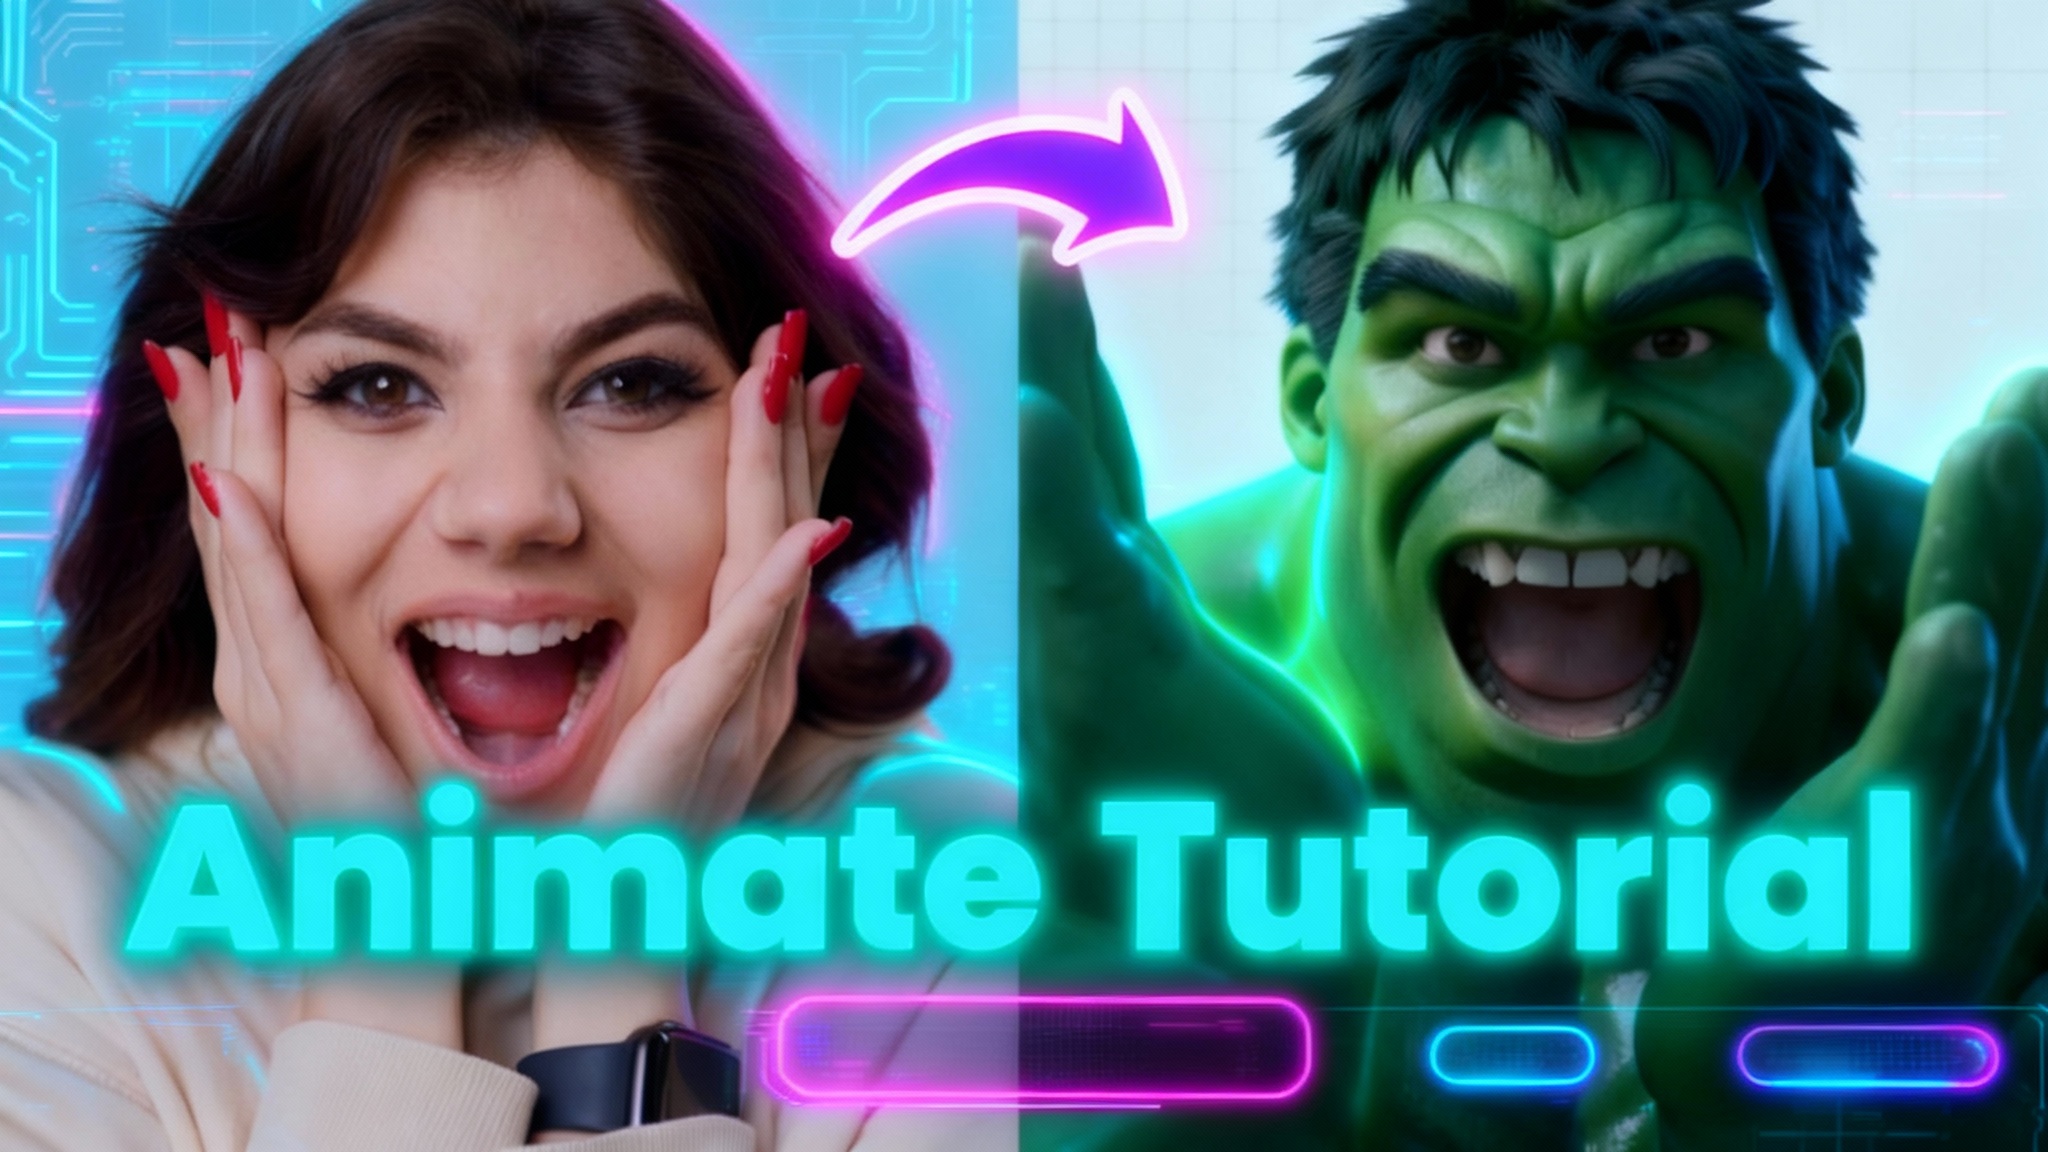
Wan 2.2 Animate: Character Animation & Replacement Guide
Guide for open-source Wan 2.2 Animate: use character swap and photo animator to turn images into animated avatars or replace characters in videos.
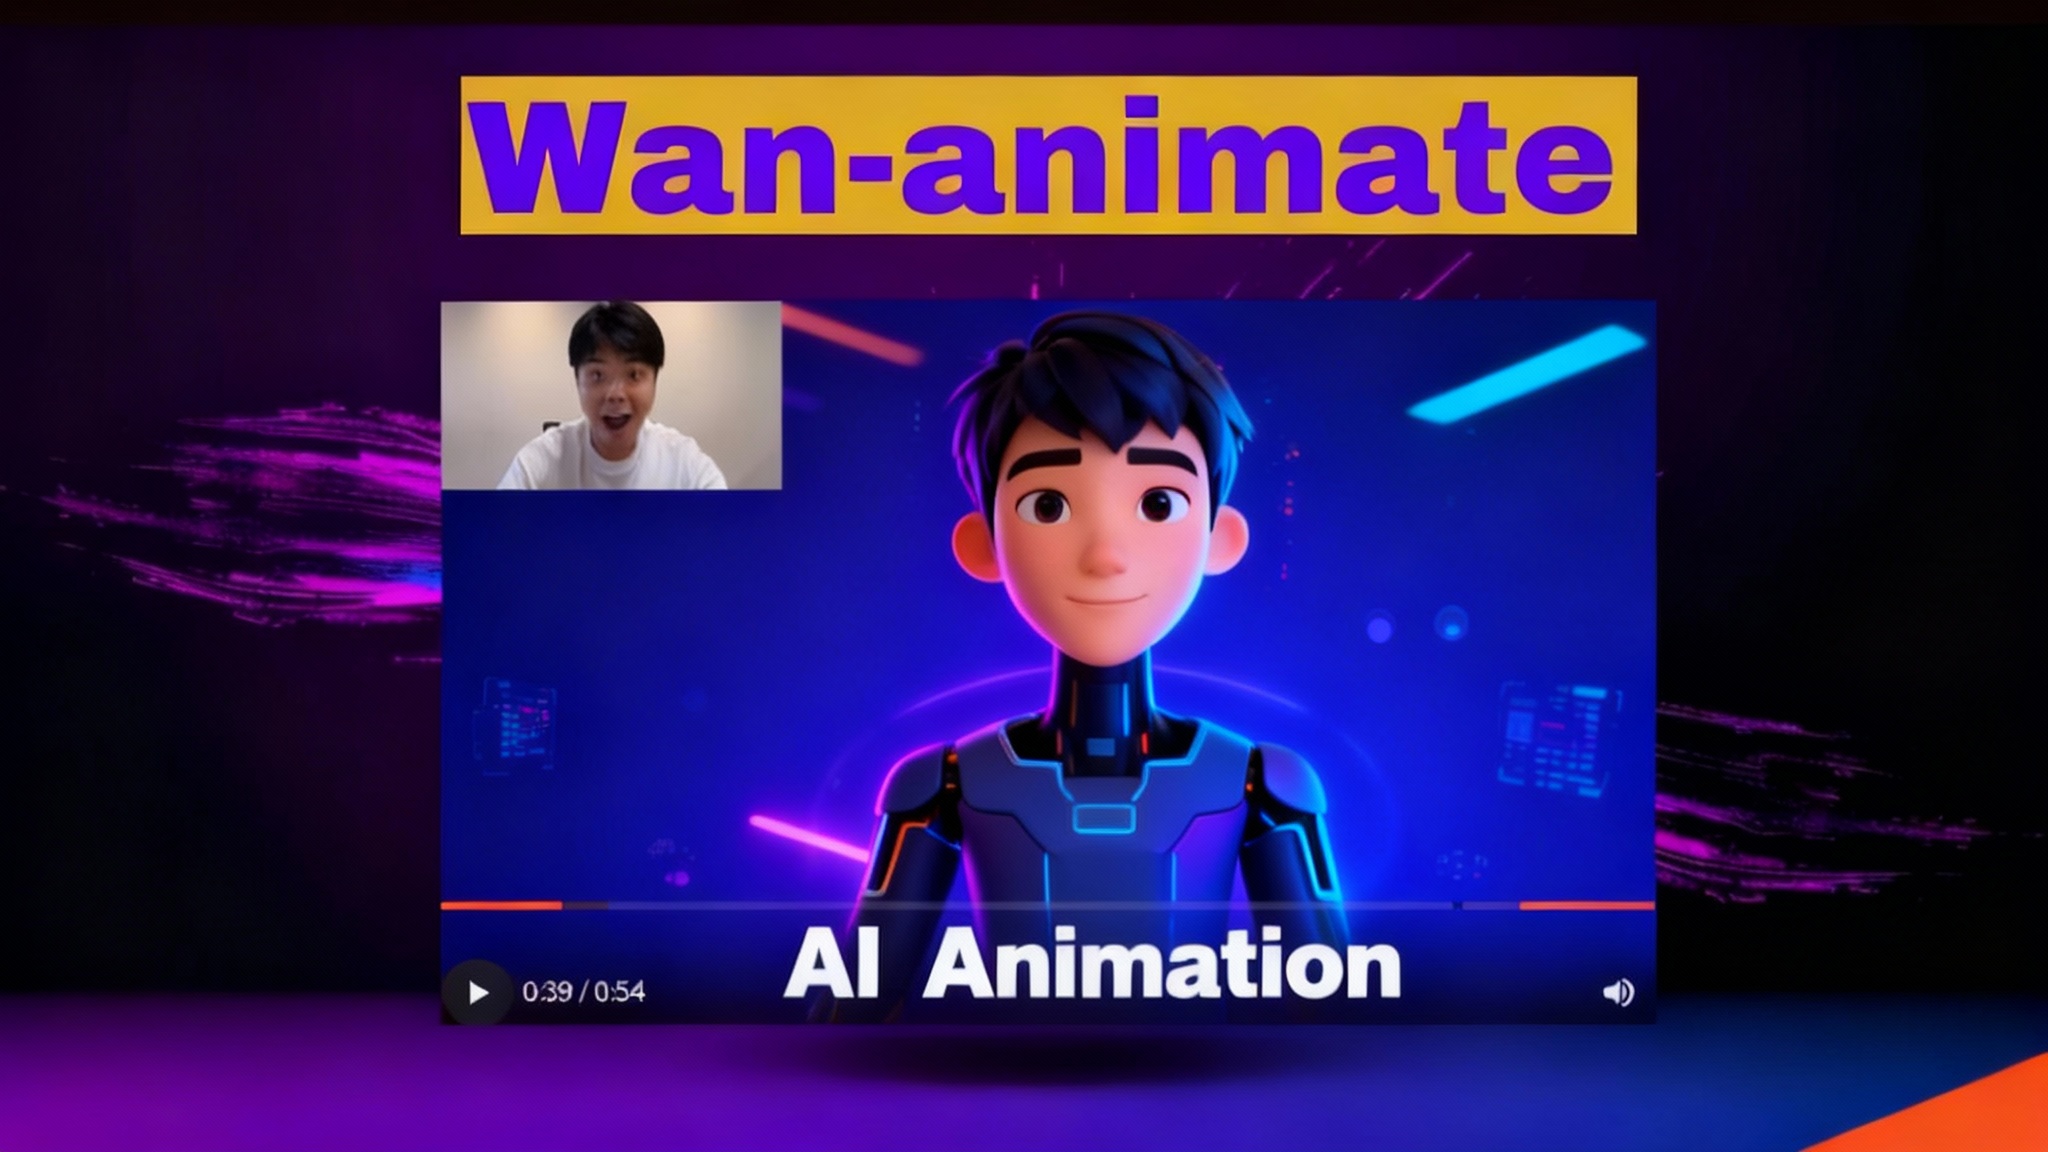
Wan2.2-Animate: Open-Source AI That Solves Character Consistency
Discover Wan2.2-Animate, the open-source AI for unified character animation and replacement—finally fixing character consistency. See how to try it.