Wan 2.2 Animate: Character Animation & Replacement Guide
Wan 2.2 just added a feature called Animate. It’s open source and built to do two things very well: animate a single character image with motion from a reference video, and replace a character in a target video with a new face or full character image.
In this guide, I’ll walk through how to use it for free via the Wan Video web interface. I’ll also share setup notes for running it locally with the published model weights, plus practical tips to improve results.
What Is Wan 2.2 Animate?
Wan 2.2 Animate is a toolset designed for character animation and character replacement. It ships with two modes inside the Wan Video interface:
- Photo Animator: Animates a single character image using the motion from a reference video.
- Character Swap: Replaces the main character in a target video with a different person or character image.
From the official demos, results show strong motion transfer, consistent lighting, and stable color tone. In my tests, the motion feels natural, with occasional hand jitter if the input image isn’t well prepared.
Table Overview
Here’s a quick side-by-side of the two modes you’ll use most:
| Mode | Inputs Required | Output | Best For | Notes |
|---|---|---|---|---|
| Photo Animator | 1 character image + 1 action/reference video | Animated video of the character moving like the reference | Turning a still image into a moving character | Works best with a mid-shot or full-body image and a clear action clip |
| Character Swap | 1 target video + 1 character image | Target video with the character replaced | Face or character replacement in existing footage | Helps preserve lighting, color tone, and motion from the original clip |
Key Features
- Open source availability
- Simple web workflow: Generate > Avatar > choose mode
- Photo Animator and Character Swap in one place
- Natural motion transfer with good lighting and color retention
- Model weights published on GitHub and Hugging Face for local runs
How to Use Wan Video (Web)
The Wan Video web app is the fastest way to try Animate for free. The flow is consistent across modes.
Quick Navigation
- Open the Wan Video web app.
- Click Generate.
- Select Avatar.
- Choose either Photo Animator or Character Swap.
From there, the UI prompts you to upload your media and submit the job. Processing time depends on video length, resolution, and server load.
Photo Animator
Photo Animator takes one character image and one action video as a reference. The system then animates the character image to follow the motion in the action video.
Step-by-Step: Photo Animator
- Open Wan Video > Generate > Avatar > Photo Animator.
- Upload your character image.
- Upload your action/reference video.
- Review settings if available.
- Click Submit and wait for processing.
- Download the result when ready.
Input Prep: Character Image
- Use a mid-shot or full-body image for better limb tracking.
- Keep the subject centered with clear edges.
- Avoid heavy motion blur or extreme angles.
- Keep the image size reasonable; overly large images can cause instability.
Input Prep: Reference Video
- Choose a video with a single primary actor and clear motion.
- Moderate length clips finish faster.
- Stable lighting aids color consistency in the final output.
- Keep the background simple if you want cleaner edges.
Quality Notes
In my runs, motion feels smooth and expressive. If you see hand or finger twitching, it often relates to image framing or scale. Cropping the character to a more standard portrait or mid-shot usually helps. Ensuring visible hands in the reference video can also improve tracking.
Troubleshooting: Hand or Limb Jitter
- Reduce the character image size if it’s extremely large.
- Crop to a more standard framing (head-to-chest or head-to-waist).
- Pick a reference video with slower, clearer gestures.
- Use footage with stable exposure and minimal occlusion.
Character Swap
Character Swap replaces the person in a target video with your provided character image. It’s useful for identity replacement while preserving the original video’s motion, lighting, and timing.
Step-by-Step: Character Swap
- Open Wan Video > Generate > Avatar > Character Swap.
- Upload your target video.
- Upload your character image.
- Confirm settings if prompted.
- Click Submit and wait for processing.
- Download and review the swap result.
Input Prep: Target Video
- Use a video with the subject clearly visible most of the time.
- Stable framing and consistent lighting yield better color and tone matching.
- Avoid heavy occlusions that cover the face for long periods.
- Shorter clips process more quickly.
Input Prep: Character Image
- Provide a clean, high-quality portrait or mid-shot.
- Ensure the face is unobstructed (no heavy shadows, masks, or extreme angles).
- Match general head pose to the target footage when possible.
Visual Consistency
One of the strongest aspects here is how the swap respects lighting, color tone, and overall motion from the original clip. If the target video has warm lighting or a cool tint, the replaced character tends to match it, which helps the result feel cohesive.
Troubleshooting: Inconsistent Results
- Reframe the character image to better match the target head pose.
- Use a higher-quality image with neutral expression and even lighting.
- Pick target clips with fewer sudden head turns or fast occlusions.
- If color looks off, try a target video with more consistent exposure.
Performance and Processing Time
Web processing time varies with server load, clip length, and resolution. Shorter clips generally finish faster. If you want full control over performance and batch runs, local inference can help, provided your hardware can handle it.
Running Locally with Published Weights
Wan 2.2 Animate provides model weights on GitHub and Hugging Face. Running locally gives you more control over hardware usage, privacy, and integration into custom pipelines.
What You’ll Need
- A machine with a modern GPU for best performance
- Sufficient VRAM (requirements vary by model and resolution)
- Python environment with common machine learning dependencies
- Disk space for checkpoints and outputs
Typical Local Setup Flow
- Clone the official repository.
- Create and activate a Python environment.
- Install dependencies as specified in the repo.
- Download the published model weights from GitHub or Hugging Face.
- Place weights in the correct directory per the repo instructions.
- Run the provided inference script for Photo Animator or Character Swap.
- Adjust parameters (input paths, output resolution, batch size) as needed.
Local vs Web: Comparison
| Factor | Web (Wan Video) | Local (GitHub/Hugging Face) |
|---|---|---|
| Setup | None | Requires environment and weights |
| Speed | Varies by server load | Depends on your GPU and settings |
| Privacy | Media uploaded | Media stays on your machine |
| Control | Limited parameters | Full control over scripts and options |
| Cost | Free tier available | Hardware and electricity costs |
Note: Always review the official repo for exact commands, supported configs, and updates.
Practical Tips for Better Results
General Tips for Both Modes
- Keep inputs clean: good lighting, minimal blur, and natural framing.
- Avoid extreme angles or heavy occlusions whenever possible.
- Shorter clips let you iterate faster.
- Match the aspect ratio of inputs to the expected output to reduce cropping.
Photo Animator Tips
- Use a mid-shot with visible shoulders and, if possible, hands.
- Avoid overly tight crops around the face.
- Choose a reference video with distinct, readable motion.
Character Swap Tips
- Select a character image with neutral expression and even light.
- Align general head pose to the target video.
- Choose target footage with stable exposure and moderate camera movement.
Mobile Creation Option
If you prefer creating short AI videos on a phone, a template-driven mobile app can be a convenient add-on to your workflow. You can assemble clips, apply styles, and test quick concepts without a desktop. For complex work, run Wan locally or through the web, then finish edits on mobile.
FAQs
Is Wan 2.2 Animate free to use?
Yes, you can try it for free through the Wan Video web interface. Limits may apply based on usage or server availability. Check the official site for current terms.
What can I do with Photo Animator?
You can animate a single character image using the motion from a reference video. The result follows the pose and timing from that video while keeping the identity and appearance from your image.
What can I do with Character Swap?
You can replace the main person in a target video with another person or character image. The system aims to maintain the original video’s motion, lighting, and color tone.
How long does processing take?
It depends on clip length, resolution, and server load. Shorter clips typically finish faster. Local runs depend on your GPU and chosen parameters.
What input formats should I prepare?
Common image formats (JPG, PNG) and common video formats (MP4, MOV) usually work well. Refer to the official documentation for exact supported formats and size limits.
How do I reduce hand or finger jitter in Photo Animator?
- Use a mid-shot or full-body image instead of an extreme close-up.
- Ensure the reference video shows clear hand motion without heavy blur.
- Keep lighting consistent in both the character image and reference clip.
How do I improve the quality of a character swap?
- Provide a high-quality character image with neutral expression.
- Match general head pose and lighting to the target clip.
- Avoid target videos with frequent occlusions or rapid head turns.
Can I run it on my own machine?
Yes. Model weights are available on GitHub and Hugging Face. You’ll need a suitable environment, a modern GPU, and the official repo instructions.
Is my content private?
Uploads to the web app are processed by the service. For full control over privacy, run everything locally. Review the official privacy policy for details on data handling.
What about rights and consent?
Only use media you have permission to edit. Obtain consent from people shown. Avoid impersonation, misleading content, or any use that violates laws or platform policies.
Conclusion
Wan 2.2 Animate brings two useful modes—Photo Animator and Character Swap—into a simple workflow. You can get started for free on the web, then move to local inference for full control and privacy. With clean inputs, careful framing, and consistent lighting, you can achieve natural motion and strong visual coherence across both modes.
If you want quick edits on the go, a mobile template app can complement your process. For heavier projects, the web interface and local setup give you more room to refine results and iterate at scale.
Recent Posts
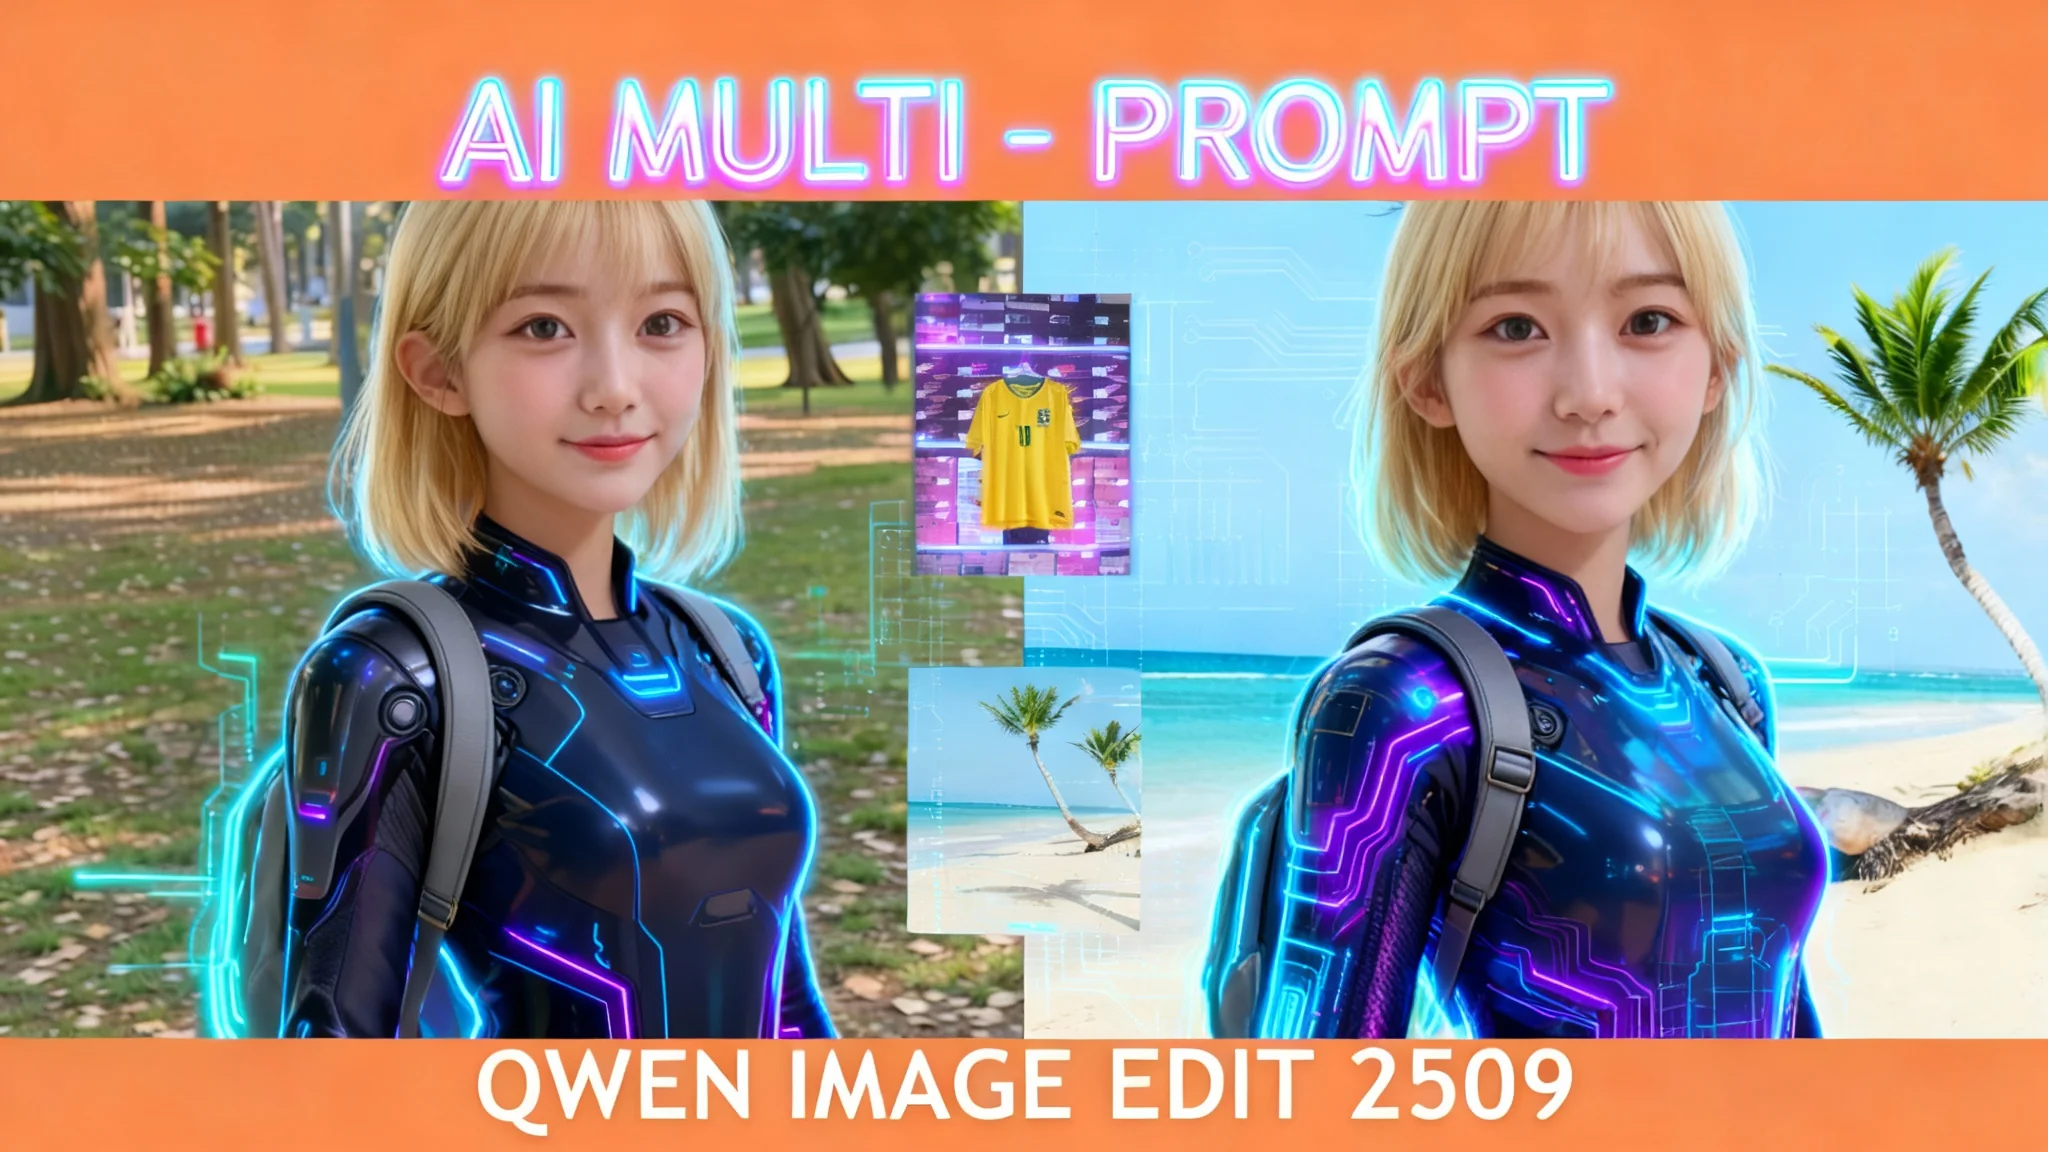
Qwen Image Edit in ComfyUI: Multi-Image Prompting
Set up Qwen Image Edit 2509 in ComfyUI: multi-image prompting (up to 3 refs), better prompt adherence, improved visuals, and example workflows on 8GB VRAM.
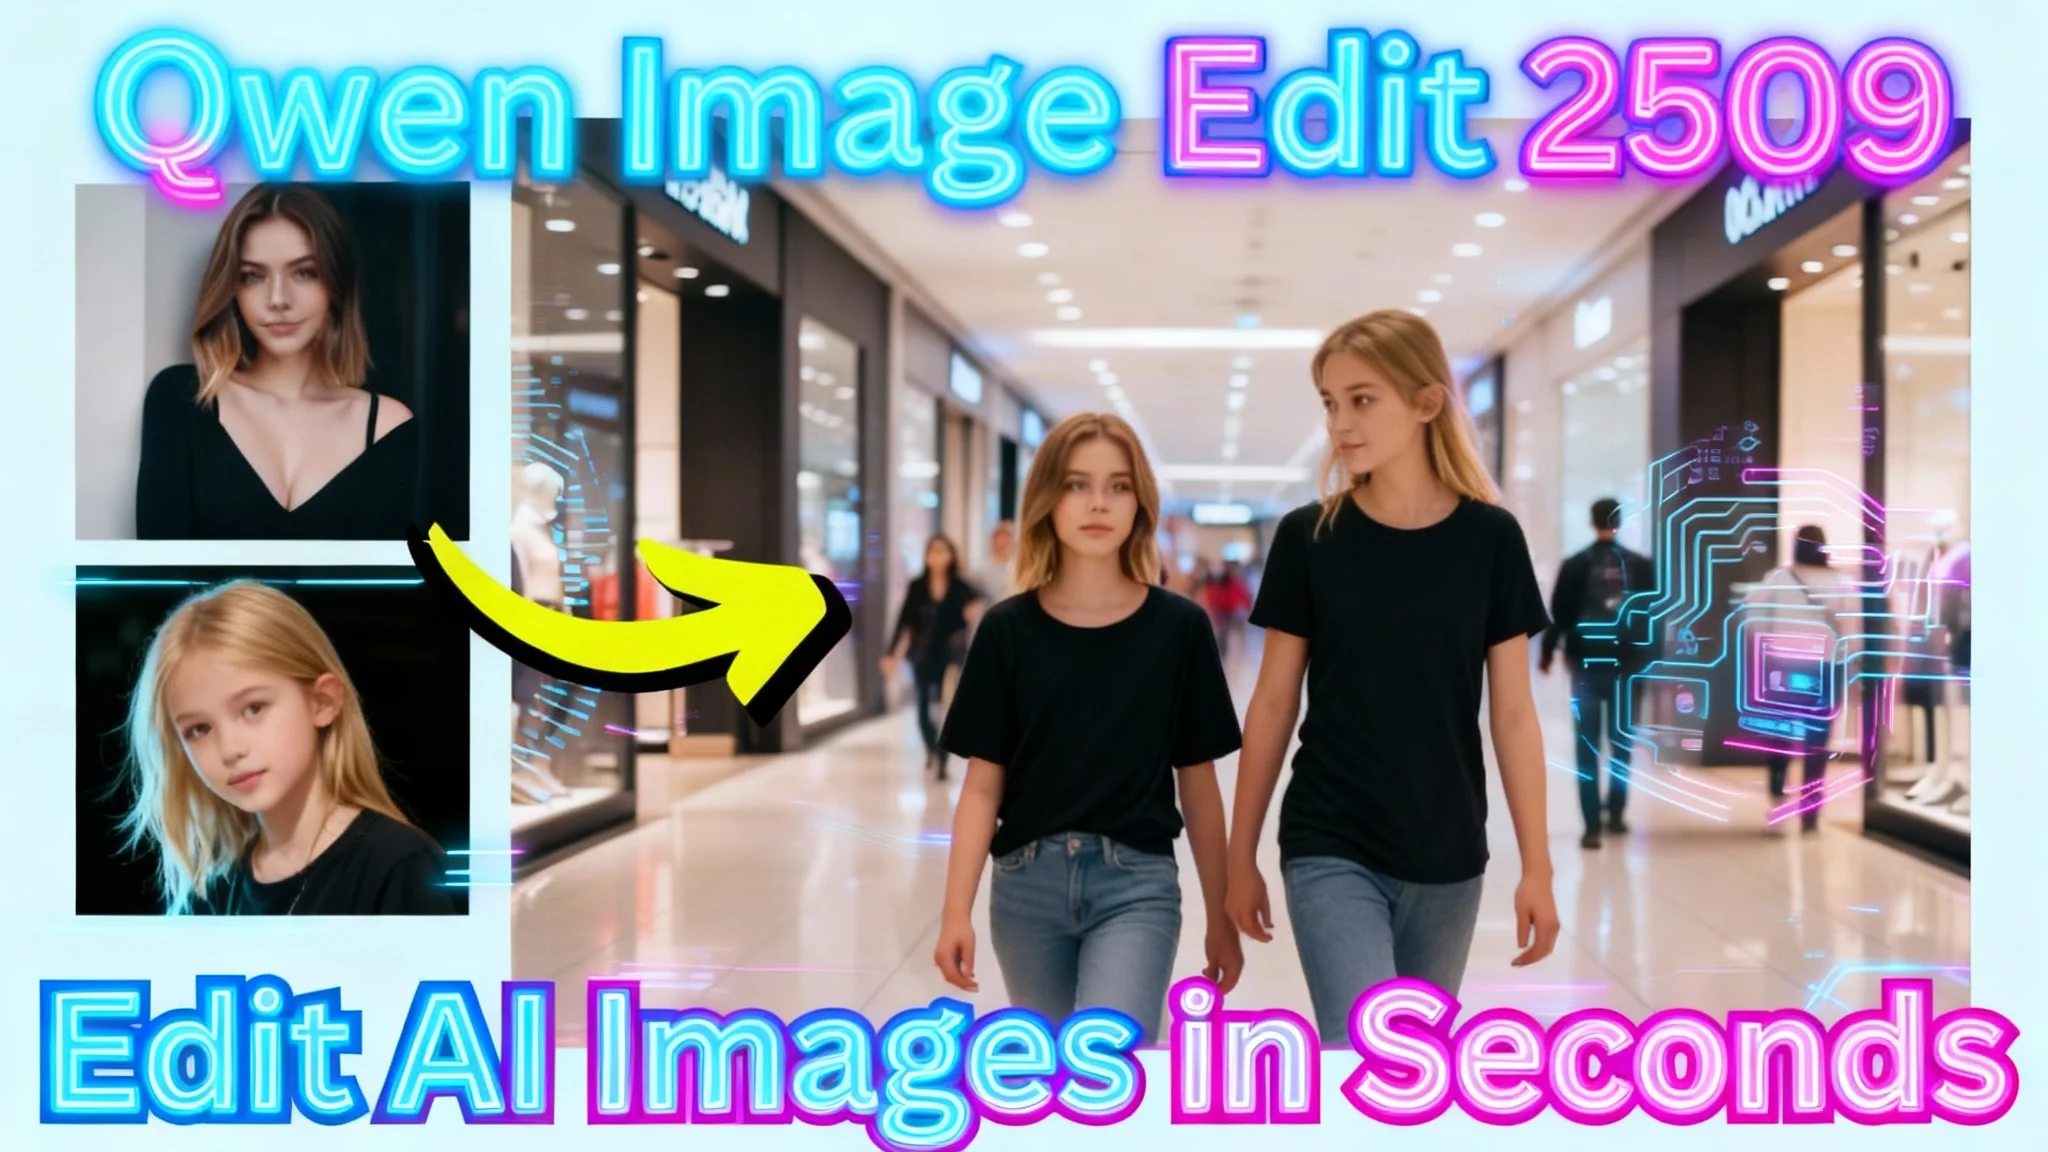
Qwen ImageEdit 2509: ControlNet Pose & Multi-Object Transfer
Discover Qwen ImageEdit 2509: improved coherence, ControlNet pose, and precise multi-object transfer, plus practical use cases and pro tips.
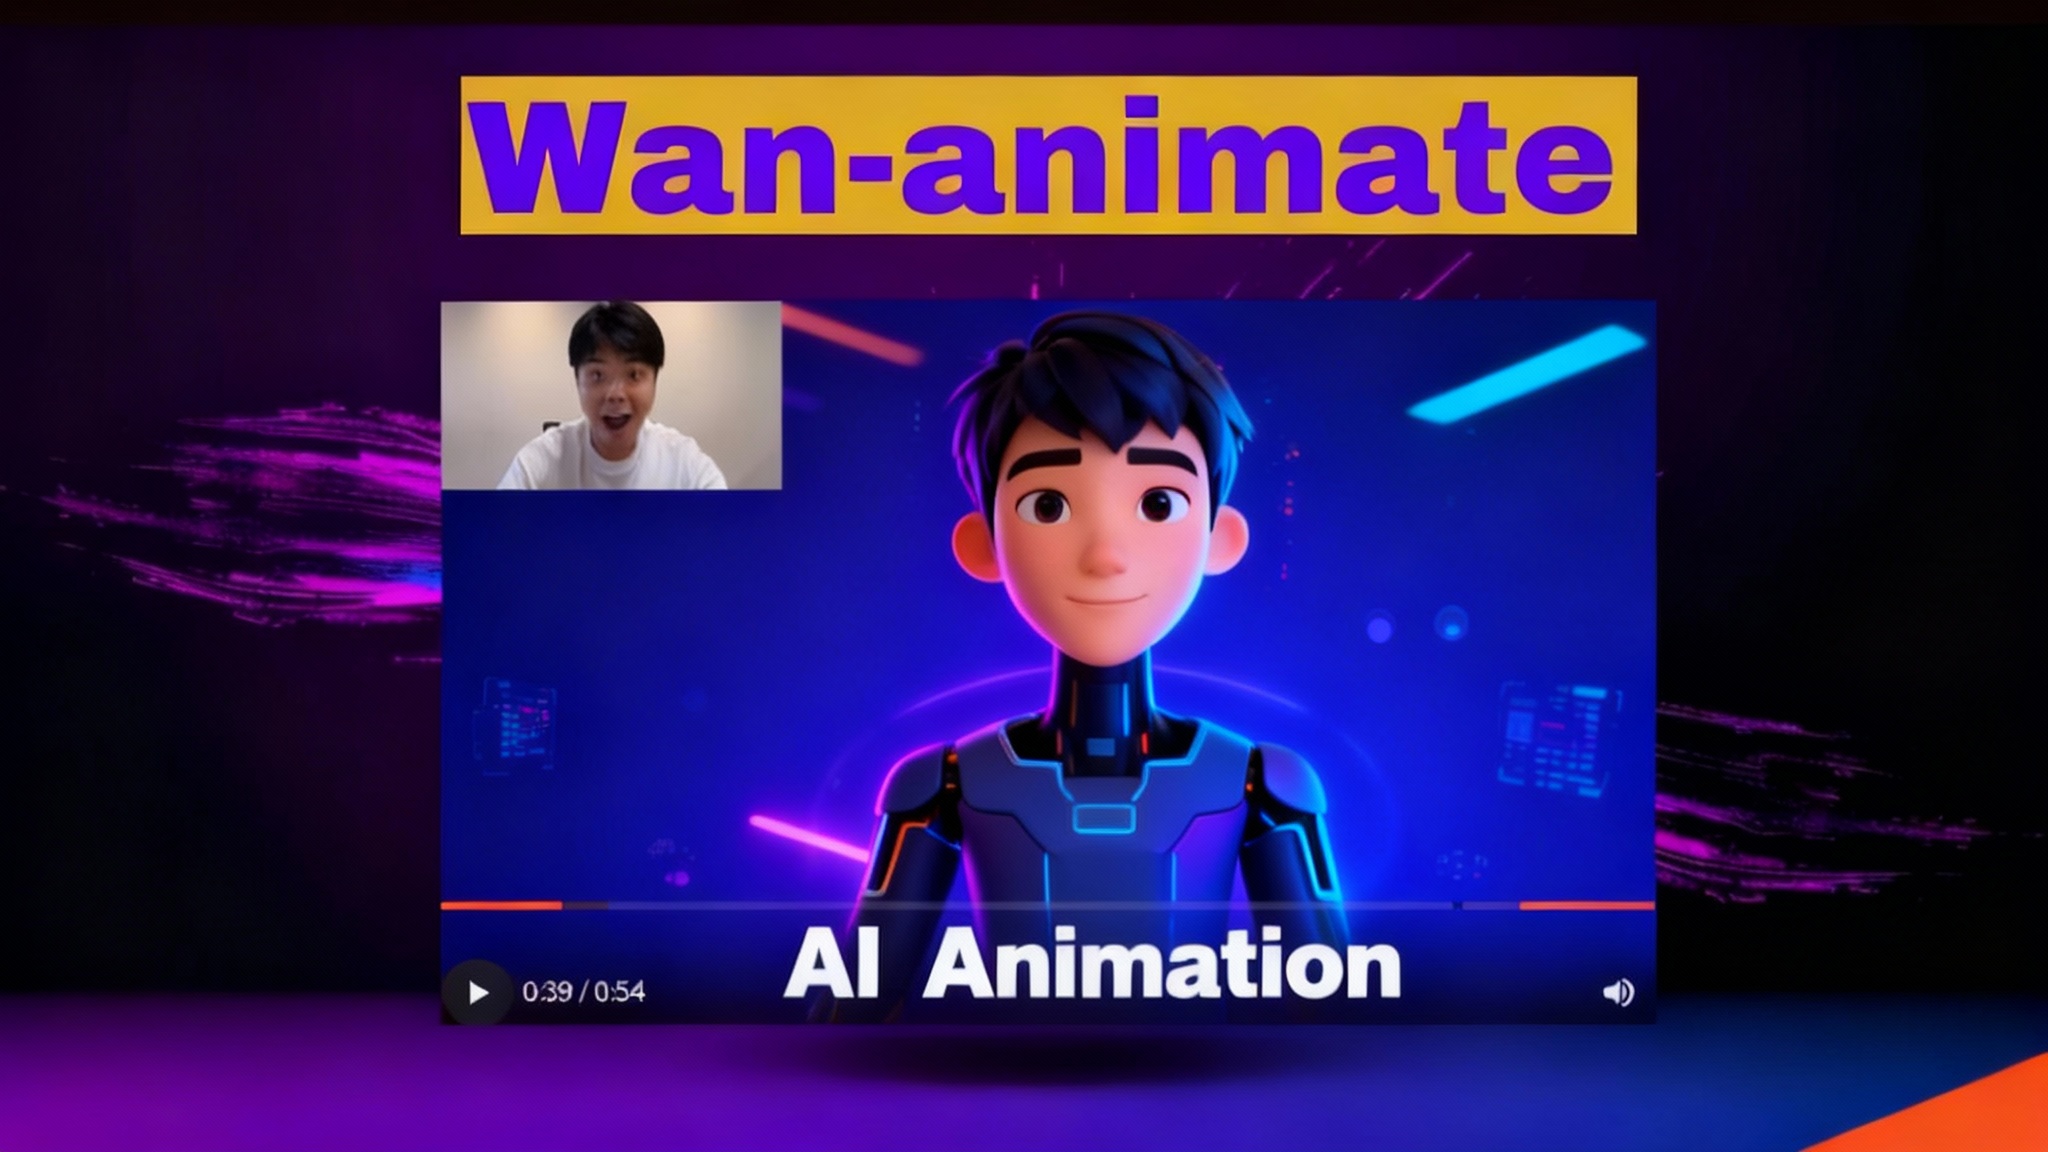
Wan2.2-Animate: Open-Source AI That Solves Character Consistency
Discover Wan2.2-Animate, the open-source AI for unified character animation and replacement—finally fixing character consistency. See how to try it.