Qwen Image Edit in ComfyUI: Multi-Image Prompting
Introduction
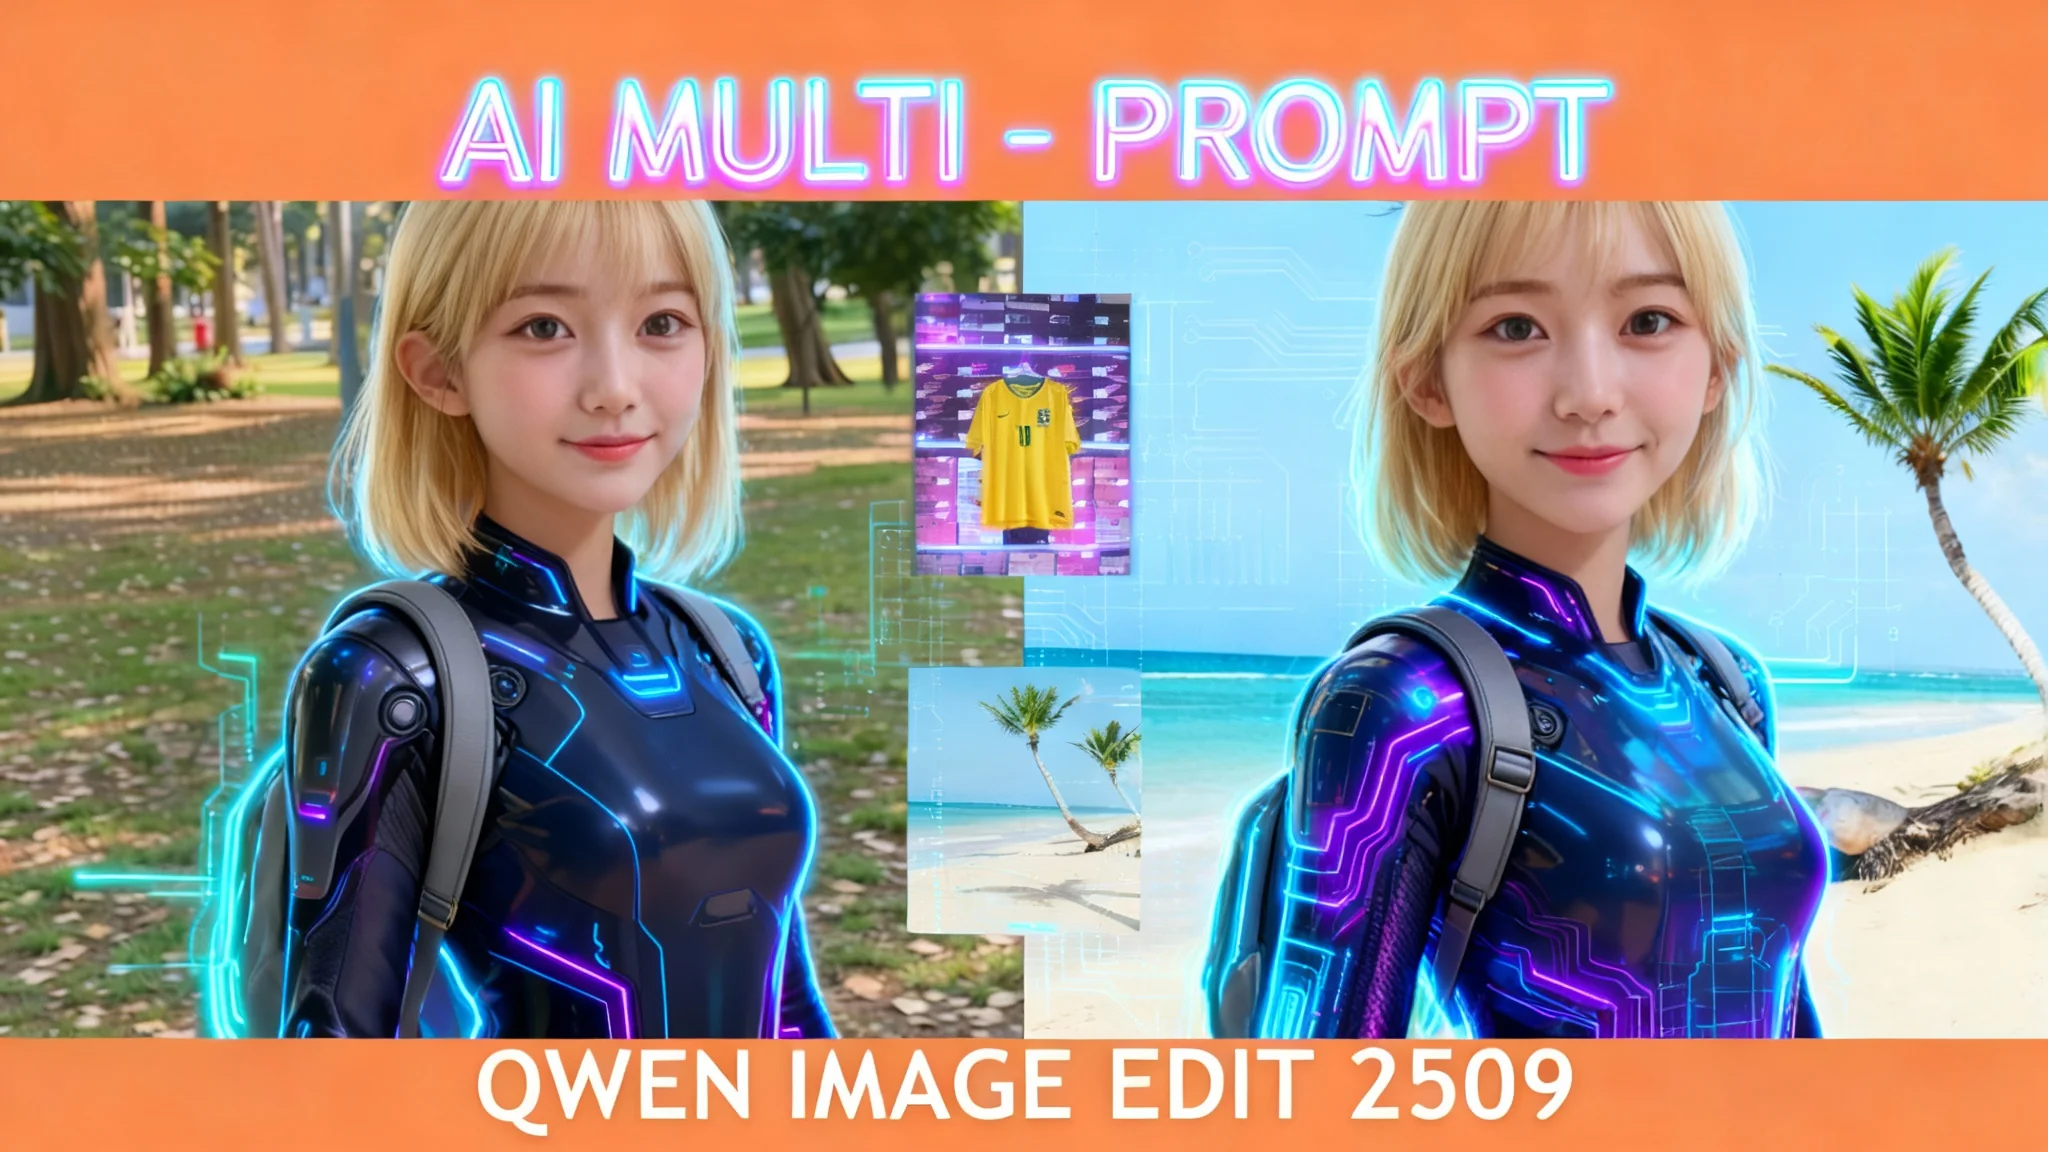
The 2509 release of Qwen Image Edit is a major step up from the first version. It improves prompt understanding, adherence, and visual quality, and it adds multi-image support for up to three reference images with clear in-prompt referencing.
In this tutorial, I explain how to set it up in ComfyUI on an 8GB GPU, how the updated workflow is wired, and how to get reliable results with the new multi-image prompt nodes. I also share practical settings that have worked consistently for me with the Lightning LoRA.
What Is Qwen Image Edit 2509?
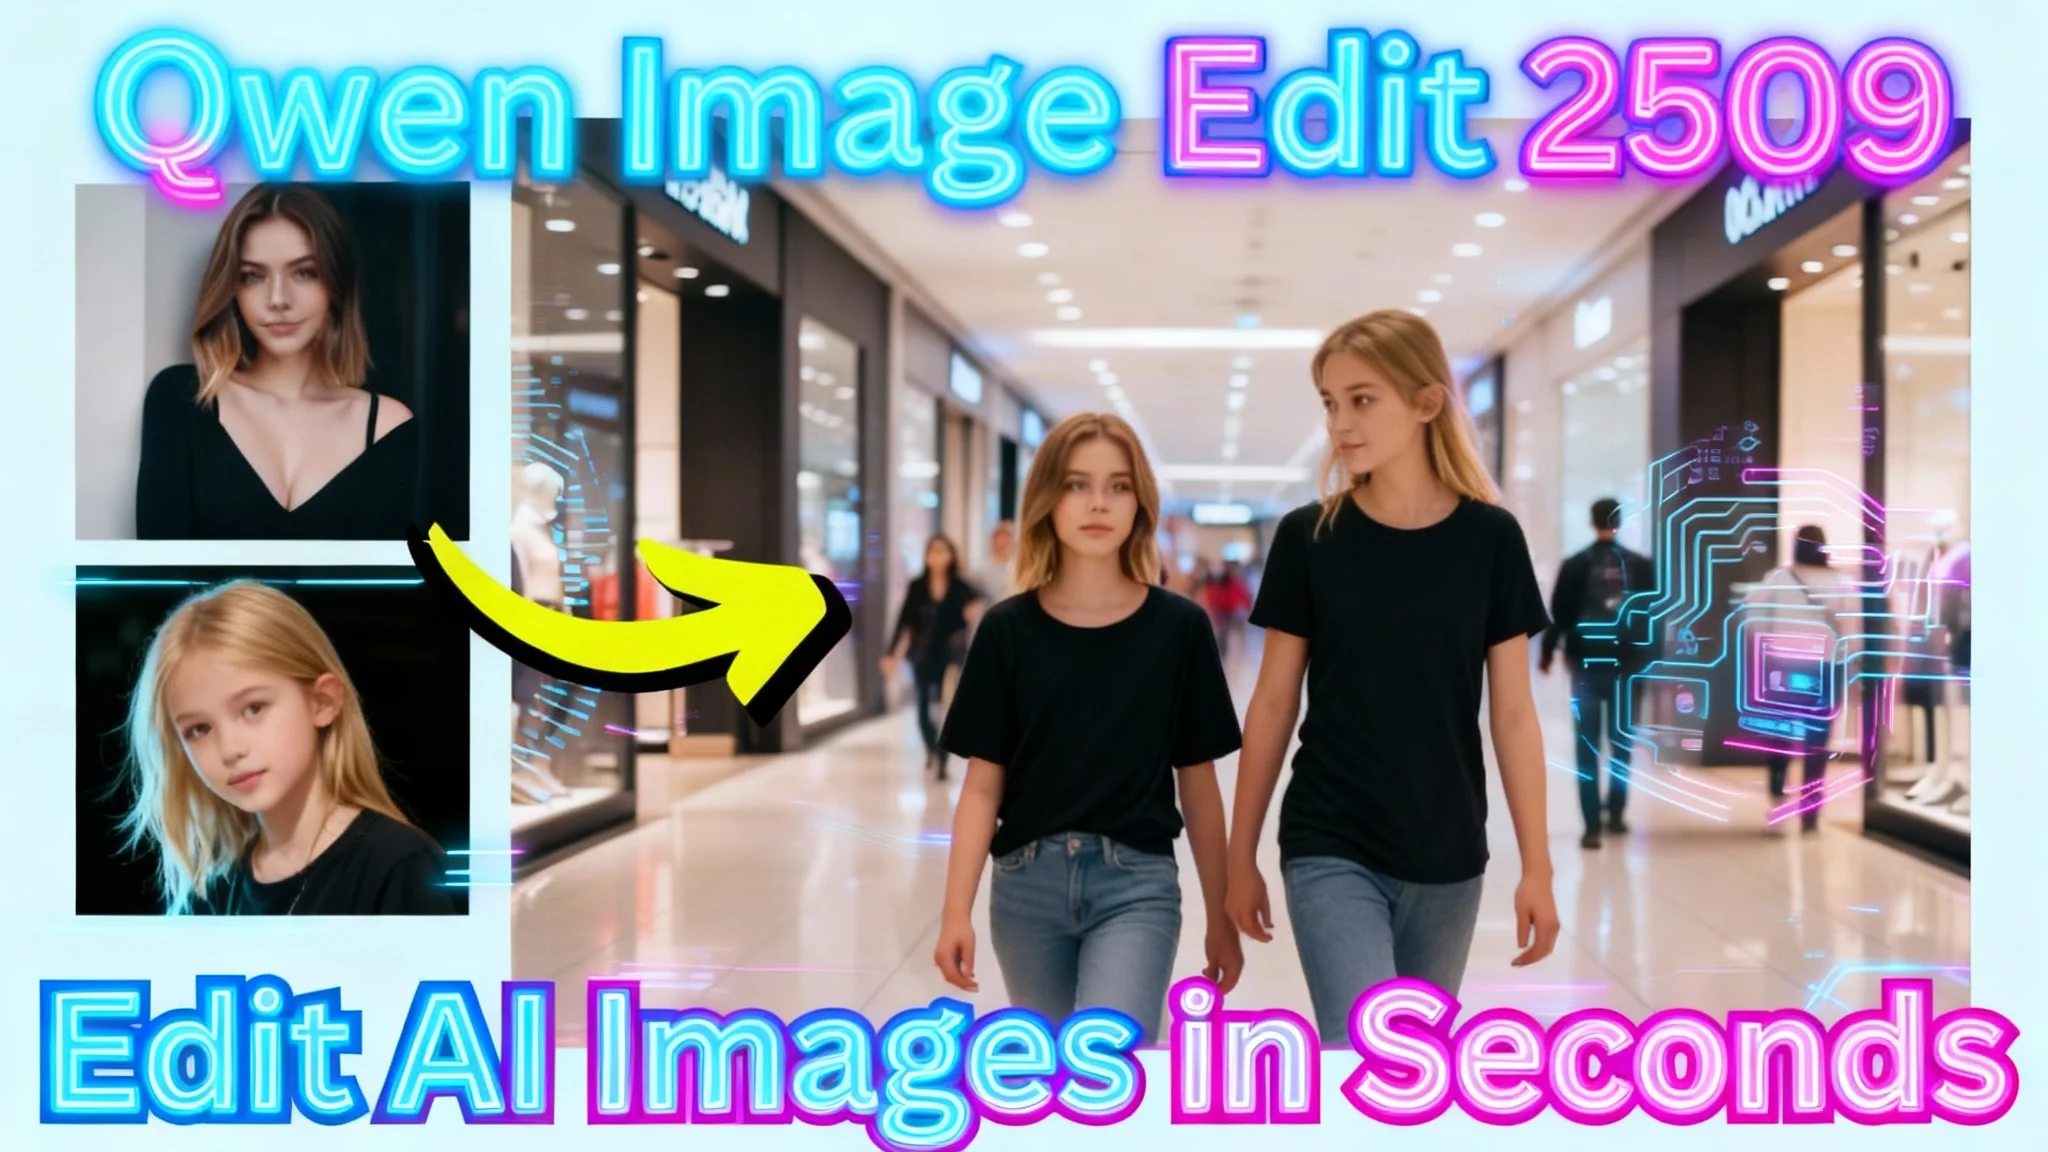
Qwen Image Edit 2509 is an image editing model designed for prompt-based edits and multi-image conditioning inside ComfyUI. It accepts up to three reference images and allows direct references to “image 1,” “image 2,” and “image 3” inside your text prompt.
The model ships as a GGUF diffusion file and works with the existing Qwen Image text encoder and VAE. In ComfyUI, it runs through a simple workflow with new prompt nodes that take both text and image inputs.
Overview
| Item | What You Need | Notes |
|---|---|---|
| Diffusion model | Qwen Image Edit 2509 (GGUF) | Download from the project’s Hugging Face page. Q4 runs well on 8GB VRAM. Place in the UNet/models folder. |
| Text encoder | Qwen Image (2.5) text encoder | Use the same encoder from the original Qwen Image Edit. Place in the correct text encoder/CLIP folder. |
| VAE | Qwen Image VAE | Use the same VAE from the original Qwen Image Edit. Place in the VAE folder. |
| LoRA | Lightning LoRA V2 (8 steps) | Prefer 8 steps V2 (non-BF16). 4 steps V2 is available but usually lower quality. Place in the Loras folder. |
| ComfyUI build | Latest nightly | Required for the Qwen Image Edit Plus nodes. Update via ComfyUI Manager. |
| Image inputs | Up to 3 reference images | Refer to them directly as “image 1,” “image 2,” and “image 3” in prompts. |
| Sampler settings | 8 steps, CFG = 1, Euler Simple | Matches Lightning LoRA recommendations. |
| Output size | Follows image 1 aspect ratio by default | Override via an Image Size node if needed. |
| VRAM | 8GB GPU | Q4 quantization keeps memory use manageable. |
Key Features of Qwen Image Edit 2509
-
Better prompt adherence and visual quality
- More consistent identity and pose retention compared to the initial release
- Fewer artifacts and banding issues
-
Multi-image conditioning (up to three references)
- Refer to images directly as “image 1,” “image 2,” and “image 3”
- Clearer referencing than left/right or positional references
-
Updated prompt nodes inside ComfyUI
- Positive and negative prompt nodes accept text and image inputs
- Text encoder and VAE connect to the prompt nodes to inform sampling
-
Efficient generation with Lightning LoRA
- Works well at 8 steps with CFG set to 1
- Euler Simple has been reliable in this setup
How to Use Qwen Image Edit 2509 in ComfyUI
1) Prepare ComfyUI
-
Update to the latest nightly build:
- Open ComfyUI Manager and Update All to the nightly version.
- This is required to access the Qwen Image Edit Plus nodes used in the workflow.
-
Confirm you have the folders for:
- UNet/models (for GGUF diffusion files)
- Loras
- VAE
- Text encoder/CLIP
2) Download the required files
-
Qwen Image Edit 2509 GGUF diffusion file
- Get it from the project’s Hugging Face page.
- For 8GB VRAM, use a Q4 build. Place it in the UNet/models folder.
-
Text encoder and VAE
- Use the same files from the original Qwen Image Edit package on the ComfyUI page.
- Place the text encoder in the appropriate CLIP/text encoder folder.
- Place the VAE in the VAE folder.
- You do not need the old diffusion model; it’s replaced by the new GGUF.
-
Lightning LoRA
- Download Lightning LoRA V2 (8 steps) non-BF16. Place it in the Loras folder.
- A 4 steps V2 version exists, but 8 steps has produced better quality.
3) Build the workflow
-
Load models
- Load the Qwen Image Edit 2509 GGUF diffusion model.
- Load the Lightning LoRA V2 (8 steps) at strength = 1.
- Load the Qwen Image (2.5) text encoder. Select the Qwen Image version, not a different encoder.
- Load the Qwen Image VAE.
-
Add image inputs
- Add up to three Load Image nodes for your references.
- Send image 1 into an Image Resizer node.
- The graph passes image 1’s aspect ratio downstream to inform the output.
- Images 2 and 3 do not require resizing by default.
-
Control output size (optional)
- By default, the graph assumes you want the output to follow image 1’s aspect ratio.
- To set a custom size:
- Use an Image Size (or similar) node.
- Bypass the default sizing path.
- Connect the latent from your sizing node directly into the KSampler instead of routing from the VAE path.
-
Add prompt nodes
- Use the updated Positive Prompt and Negative Prompt nodes that accept image inputs.
- Connect images 1–3 to the corresponding inputs on both prompt nodes.
- Connect the text encoder (CLIP) to the prompt nodes.
- Connect the VAE to the prompt nodes (and into the sampling path) as shown in the updated graph.
-
Wire the sampling path
- Model → Shift node → CFG → KSampler.
- Set KSampler to 8 steps, CFG = 1, and Euler Simple.
- Latent → Decode (via VAE) → Save Image.
4) Prompting with multiple images
-
Address images directly
- Refer to your references in text as “image 1,” “image 2,” and “image 3.”
- The model is designed to understand these direct references.
-
Use clear instruction
- Describe edits concisely: what changes, what stays, and how elements relate.
- If output skews too stylized, you can guide the style with short descriptors.
-
Keep it brief
- Short, precise instructions tend to work well with this model.
- Avoid redundant descriptors and focus on the key edit.
How Qwen Image Edit 2509 Works in This Workflow
Model and conditioning flow
The diffusion model runs with the Lightning LoRA applied at strength 1. The updated prompt nodes accept both text and image inputs from the text encoder and your reference images. This lets the model understand your scene and the identities or objects you want to reference.
The VAE connects into the prompt nodes and sampling path. After sampling, the latent is decoded by the same VAE and saved to disk. The Shift and CFG nodes sit between the model and KSampler to manage classifier-free guidance at the recommended value of 1.
Image sizing and aspect ratio
By default, the first reference image passes through an Image Resizer. That node’s aspect ratio is used for the output shape, matching the first reference unless you override it. Images 2 and 3 skip resizing in the stock graph and can be large; memory usage has been fine on 8GB with Q4.
If you need a fixed output size, insert a size-setting node and feed its latent directly to the KSampler. This bypasses the default assumption that the first reference image dictates the target aspect ratio.
Sampling settings
The Lightning LoRA V2 8-step preset is designed to run at 8 steps with CFG = 1. Euler Simple has been a stable choice here. Higher CFG values are unnecessary in this configuration and can push the output off target.
Capabilities and Performance Notes
-
Multi-image conditioning
- Accepts three references and understands direct prompts like “image 1,” “image 2,” and “image 3.”
- Useful when blending a subject, an object, and a setting from separate images.
-
Identity, pose, and proportion stability
- More consistent retention of pose and facial features than the initial release.
- Improved proportions when combining people and objects.
-
Edits and transformations
- Object replacement works cleanly while preserving background and lighting.
- Camera angle or perspective changes are more faithful to the scene setup.
-
Style control
- If outputs skew stylized, gentle style guidance can push results toward photographic output.
- Keep prompts concise for better adherence.
Step-by-Step: Complete Setup and First Run
Step 1: Update ComfyUI
- Open ComfyUI Manager.
- Update all packages to the latest nightly build.
- Restart ComfyUI after the update.
Step 2: Place model files
- Put the Qwen Image Edit 2509 GGUF file in the UNet/models folder.
- Put the Qwen Image (2.5) text encoder in the CLIP/text encoder folder.
- Put the Qwen Image VAE in the VAE folder.
- Put the Lightning LoRA V2 (8 steps, non-BF16) in the Loras folder.
Step 3: Assemble the graph
- Add and configure:
- Load UNet (GGUF model)
- Load LoRA (Lightning V2 8 steps, strength 1)
- Load Text Encoder (Qwen Image 2.5)
- Load VAE (Qwen Image VAE)
- Positive Prompt and Negative Prompt nodes (Qwen Image Edit Plus)
- Load Image nodes for image 1, image 2, image 3
- Image Resizer for image 1
- Optional Image Size node (if you want to control target size manually)
- Shift and CFG nodes
- KSampler (8 steps, CFG = 1, Euler Simple)
- Decode and Save Image nodes
Step 4: Wire references and prompts
- Connect image 1 → Image Resizer → prompt nodes (as image 1 input).
- Connect image 2 and image 3 directly to prompt nodes.
- Connect the text encoder to both prompt nodes.
- Connect the VAE into the prompt nodes and sampling chain per the template.
Step 5: Set sampling
- Model → Shift → CFG → KSampler.
- KSampler: steps = 8, CFG = 1, sampler = Euler Simple.
Step 6: Control output size (optional)
- If you want to override aspect ratio:
- Use an Image Size node to set width/height.
- Connect its latent directly into the KSampler, bypassing the default path.
Step 7: Prompt and generate
- Use clear instructions referencing image 1–3 when needed.
- Keep text concise and specific.
- Generate, review, and iterate if needed.
FAQs
What’s new in 2509 compared to the first release?
Prompt adherence is tighter, visual quality is better, and multi-image support is built-in with direct references to image 1–3. Banding and proportion issues seen in the first release are much improved.
How many reference images can I use?
Up to three. You can refer to them as “image 1,” “image 2,” and “image 3” in your prompt.
Do I have to resize the references?
The default workflow resizes only image 1 and uses its aspect ratio to guide the output. Images 2 and 3 skip resizing by default. This has been stable on 8GB VRAM with Q4.
How do I set a custom output size?
Insert a sizing node (e.g., Image Size), and feed its latent directly to the KSampler. This bypasses the default aspect ratio path coming from image 1.
Which Lightning LoRA should I use?
Use Lightning LoRA V2 (8 steps), non-BF16. The 8-step variant has produced better quality than the 4-step version in this setup.
What sampler settings work best?
8 steps, CFG = 1, and Euler Simple, aligned with the Lightning LoRA recommendations used here.
Do I need a specific ComfyUI version?
Yes. Update to the latest nightly via ComfyUI Manager to get the Qwen Image Edit Plus nodes and ensure compatibility.
Where do I place each file?
- GGUF diffusion: UNet/models
- Text encoder: CLIP/text encoder folder
- VAE: VAE folder
- LoRA: Loras folder
Can this run on an 8GB GPU?
Yes. The Q4 GGUF build runs well on 8GB VRAM in the described configuration.
Does it keep the subject’s pose and face?
It tends to maintain identity and pose far better than the initial release, especially when you guide it with a clear prompt and consistent references.
Can I avoid explicit “image 1/2/3” references?
You can. If your prompt clearly describes the elements, the model often understands the mapping. Direct references are still recommended for clarity.
Is it better than Flux Context for multi-image prompts?
It’s easier to address references as image 1–3, which makes prompting straightforward. Prompt adherence and proportion handling have been reliable in this setup.
Conclusion
Qwen Image Edit 2509 brings stronger prompt adherence, improved visual quality, and straightforward multi-image conditioning to ComfyUI. The updated prompt nodes accept both text and image inputs, and the model understands direct references to image 1, image 2, and image 3. On an 8GB GPU, the Q4 GGUF build with Lightning LoRA V2 at 8 steps, CFG = 1, and Euler Simple has been a practical, repeatable setup.
The workflow is simple: load the diffusion model, text encoder, VAE, and Lightning LoRA; connect your references to the new prompt nodes; keep your instructions clear; and let the first image’s aspect ratio or a custom size define the output. The result is a cleaner, more capable editor than the initial release and a straightforward way to run multi-image prompts in ComfyUI.
Recent Posts
Qwen ImageEdit 2509: ControlNet Pose & Multi-Object Transfer
Discover Qwen ImageEdit 2509: improved coherence, ControlNet pose, and precise multi-object transfer, plus practical use cases and pro tips.
Wan 2.2 Animate: Character Animation & Replacement Guide
Guide for open-source Wan 2.2 Animate: use character swap and photo animator to turn images into animated avatars or replace characters in videos.
Wan2.2-Animate: Open-Source AI That Solves Character Consistency
Discover Wan2.2-Animate, the open-source AI for unified character animation and replacement—finally fixing character consistency. See how to try it.